Skip to content
Home
Fixture
News
Partners
Donate
Contact
Home
Fixture
News
Partners
Donate
Contact
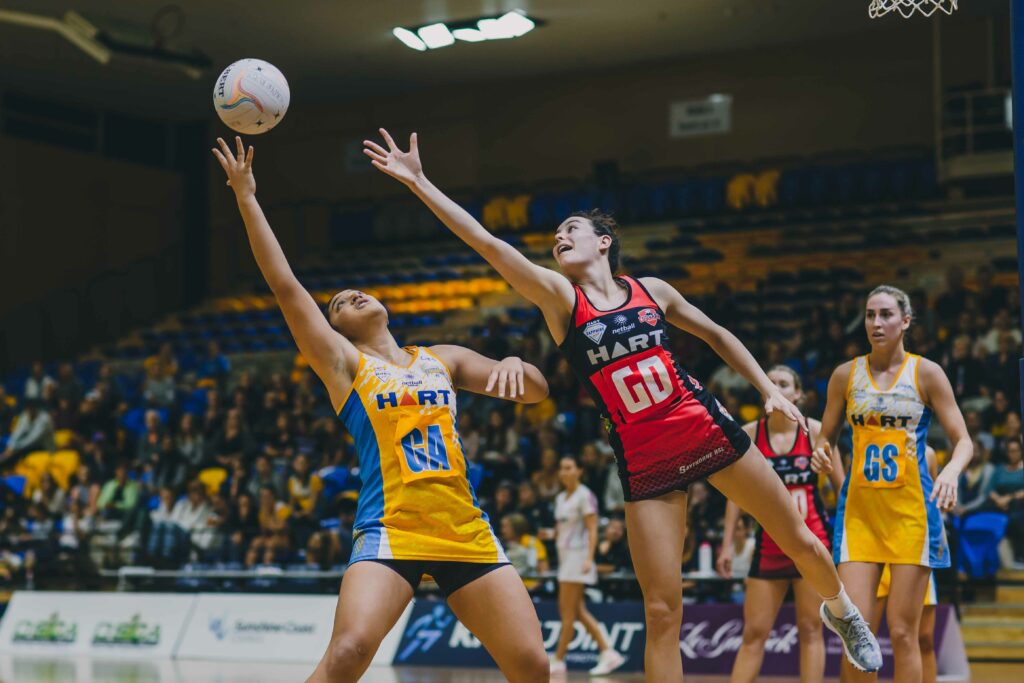
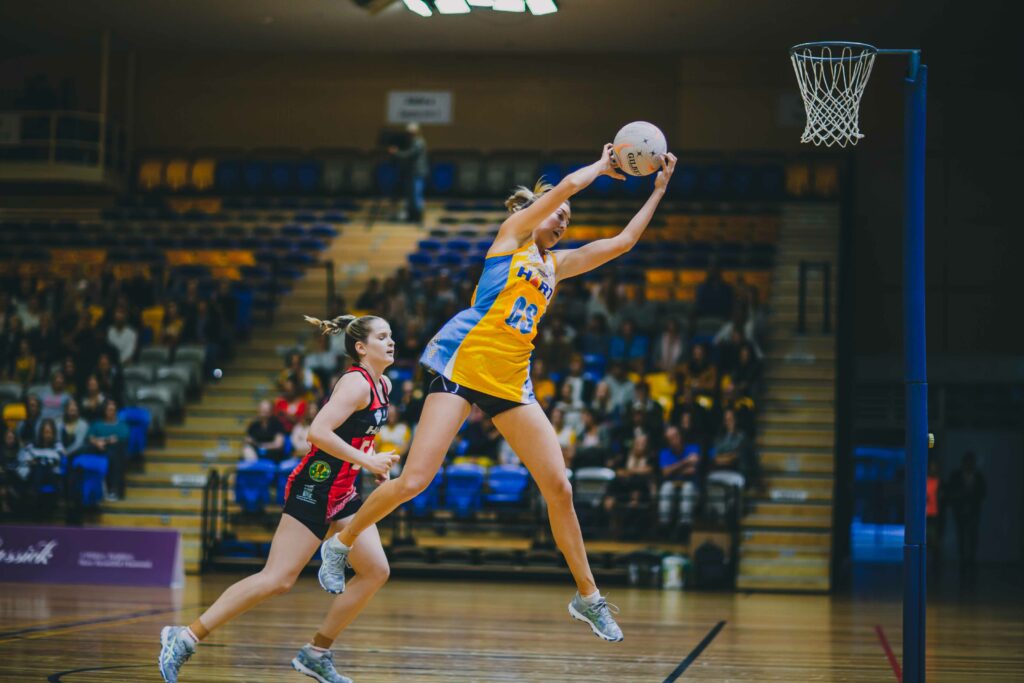
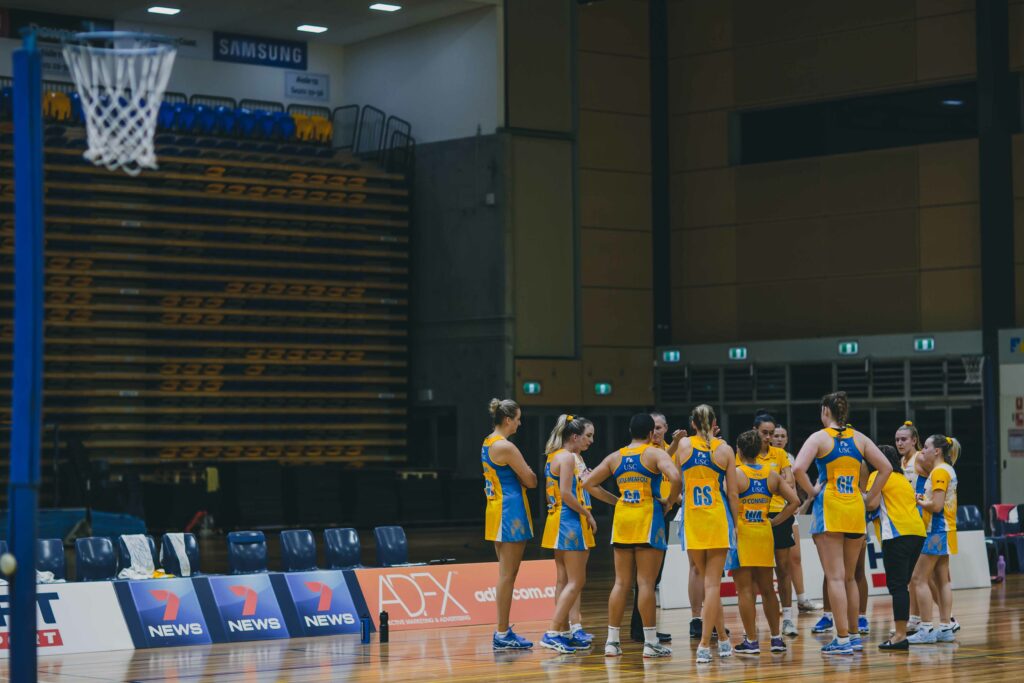
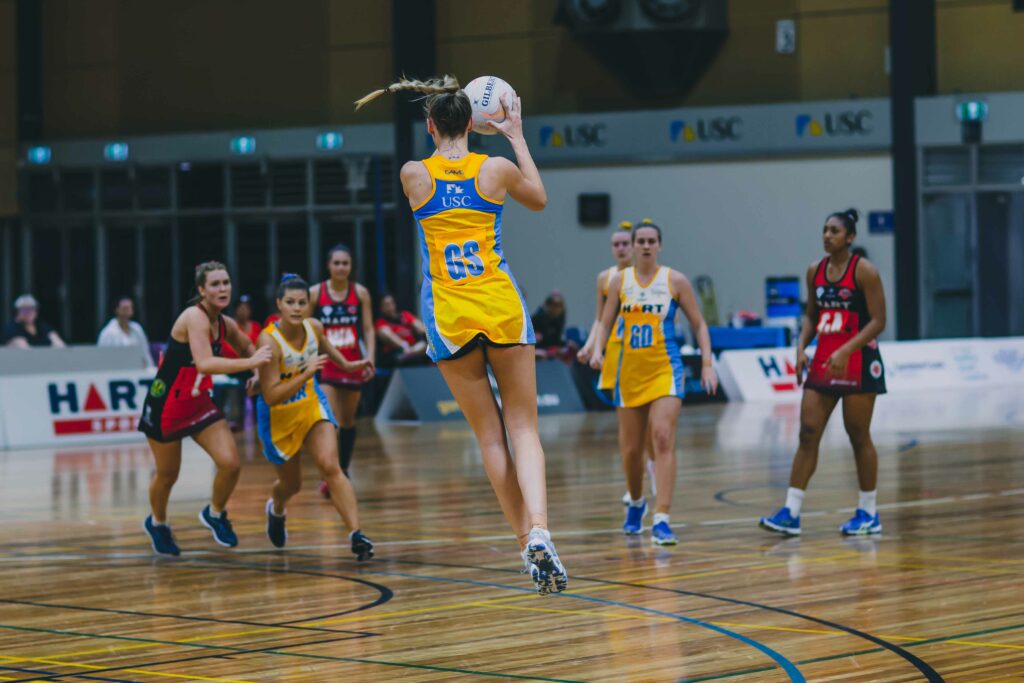
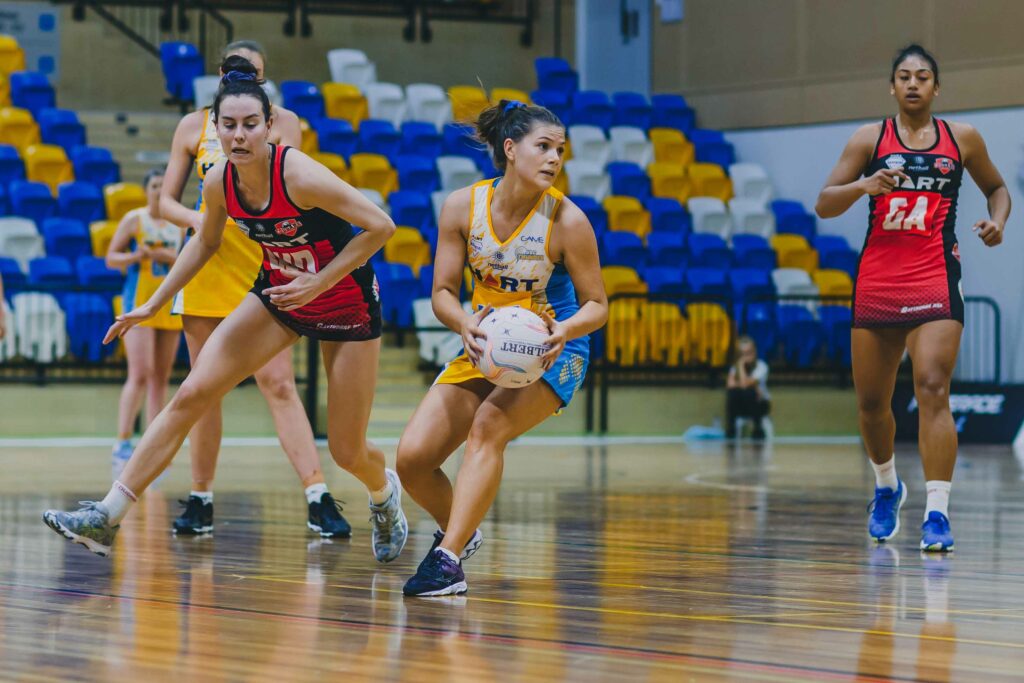
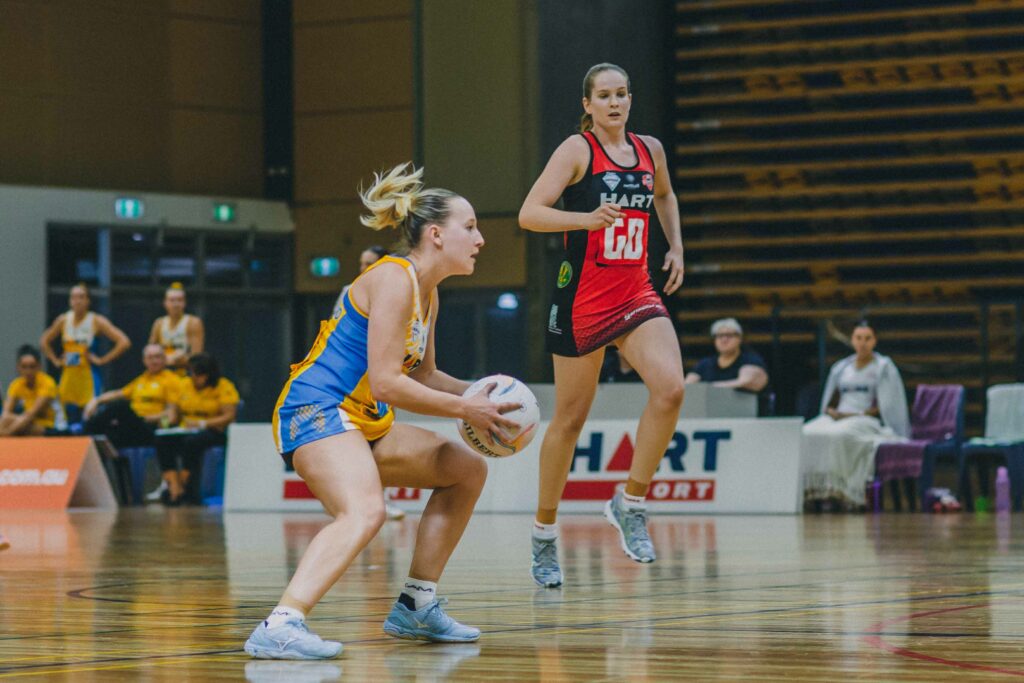
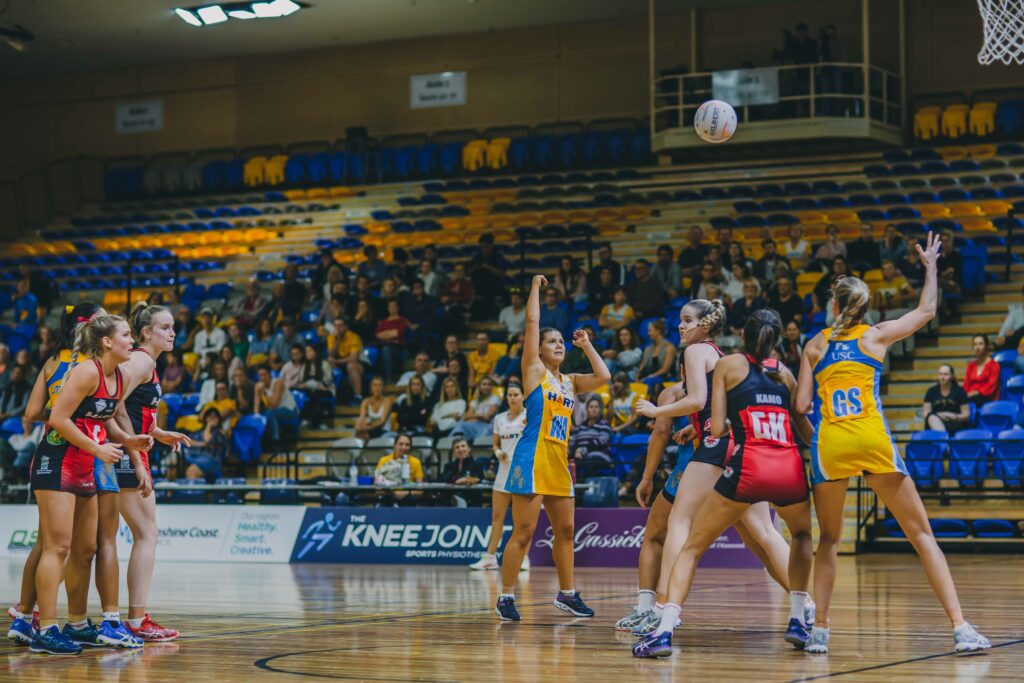
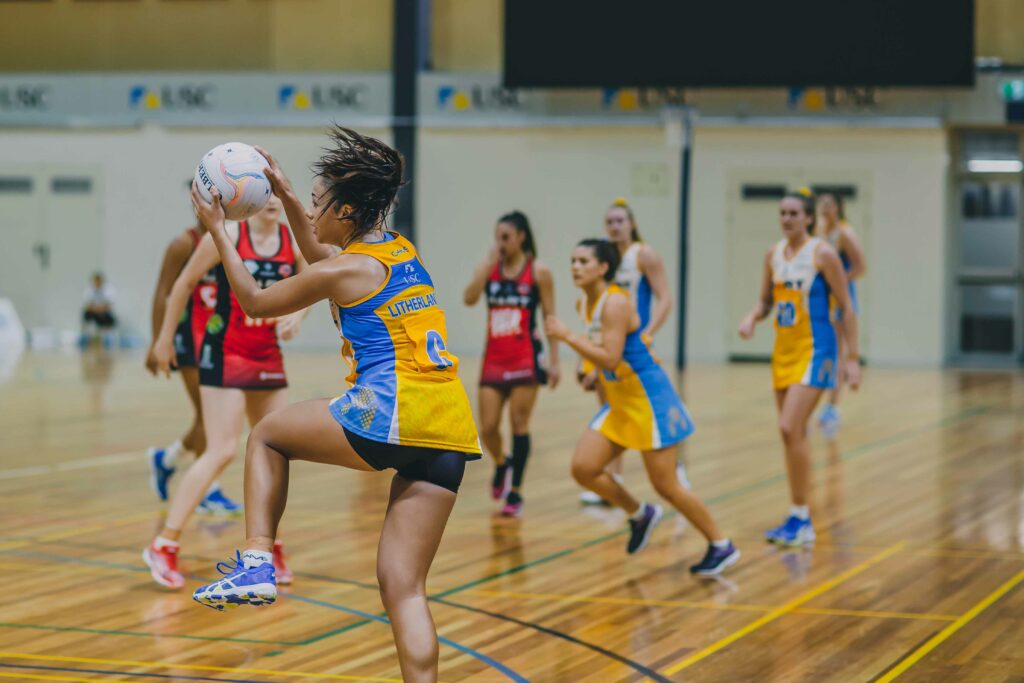
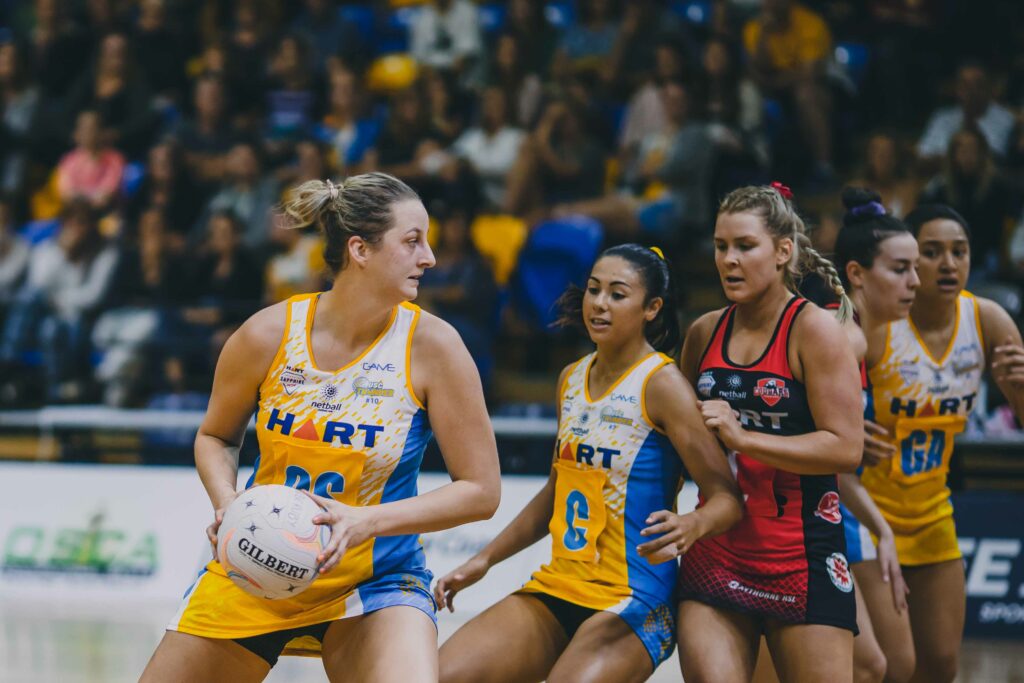
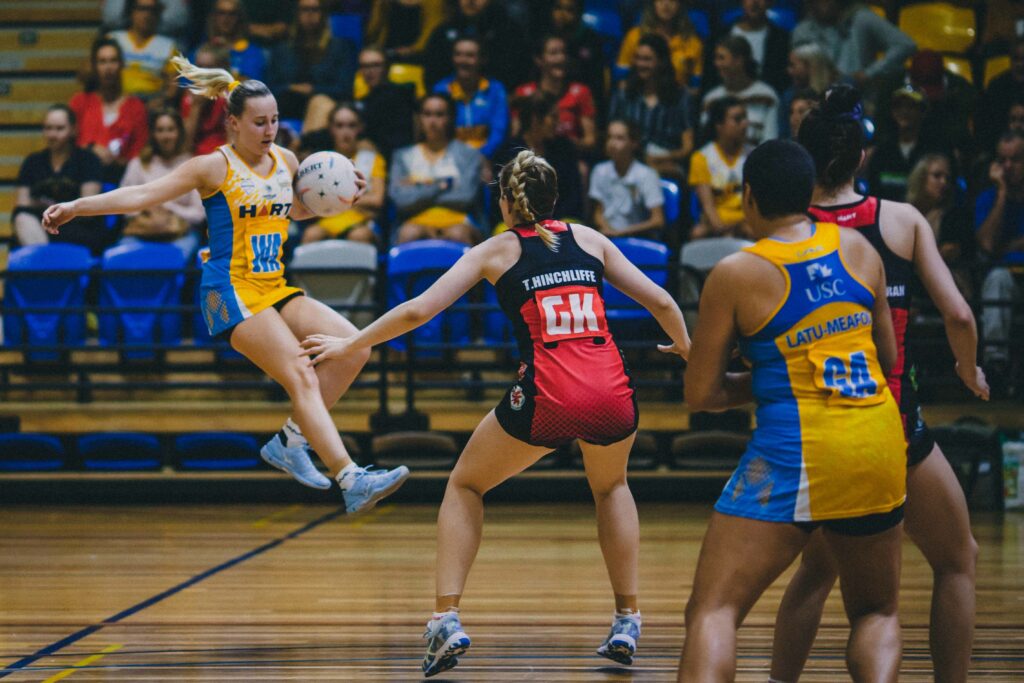
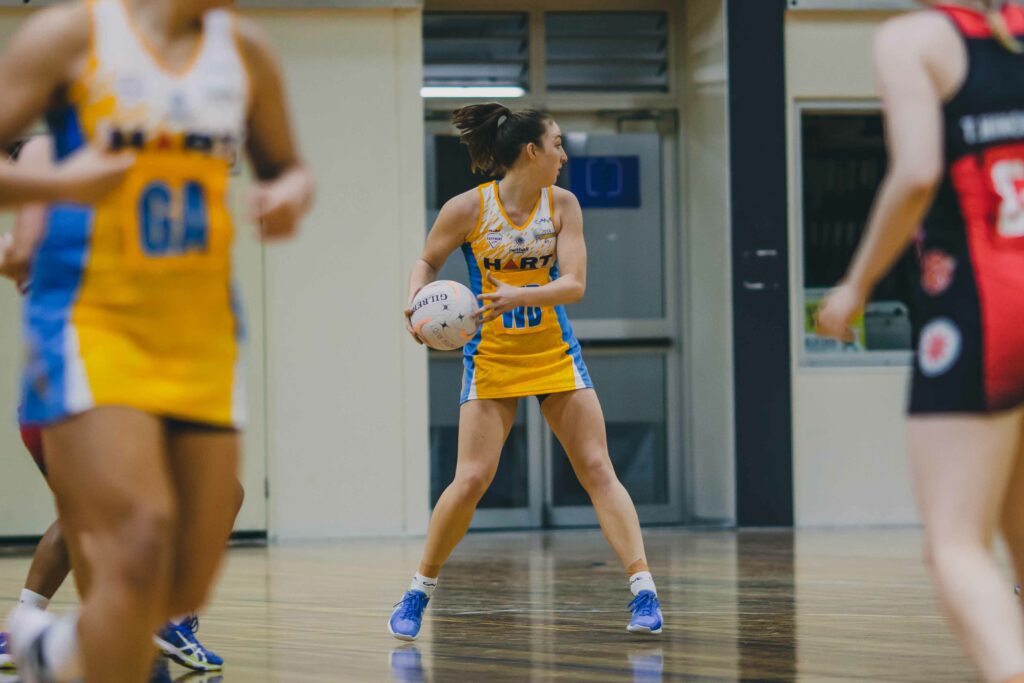
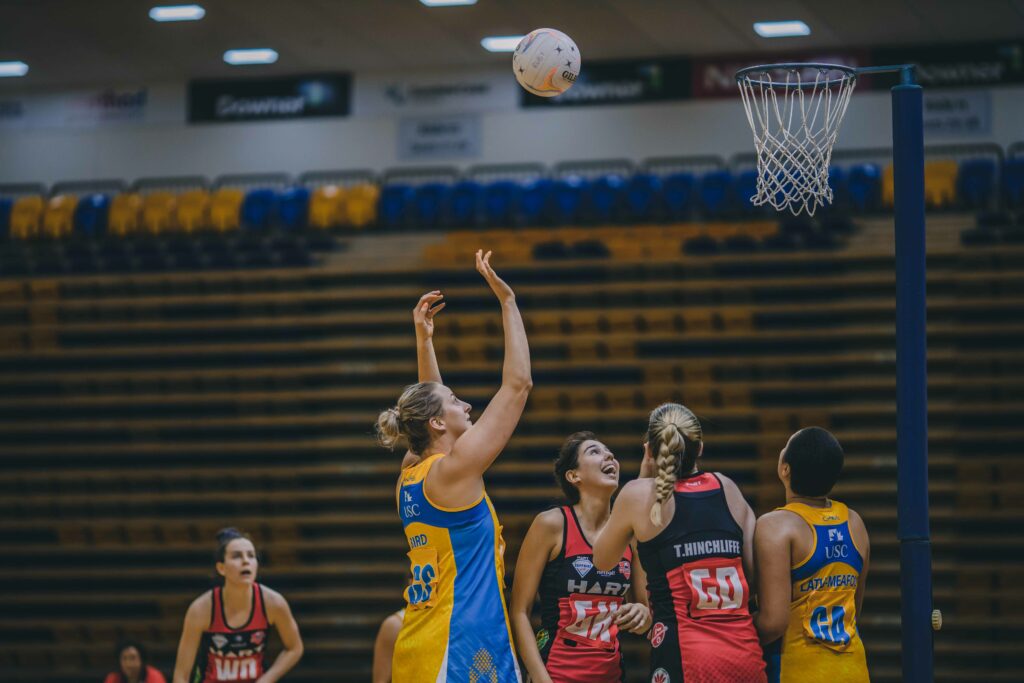
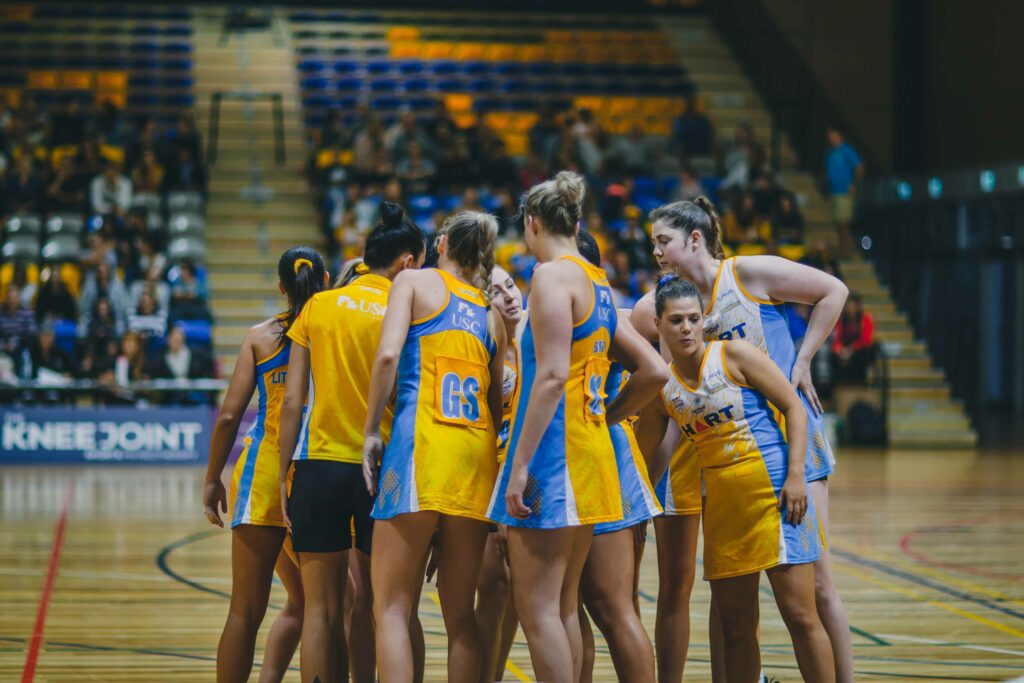
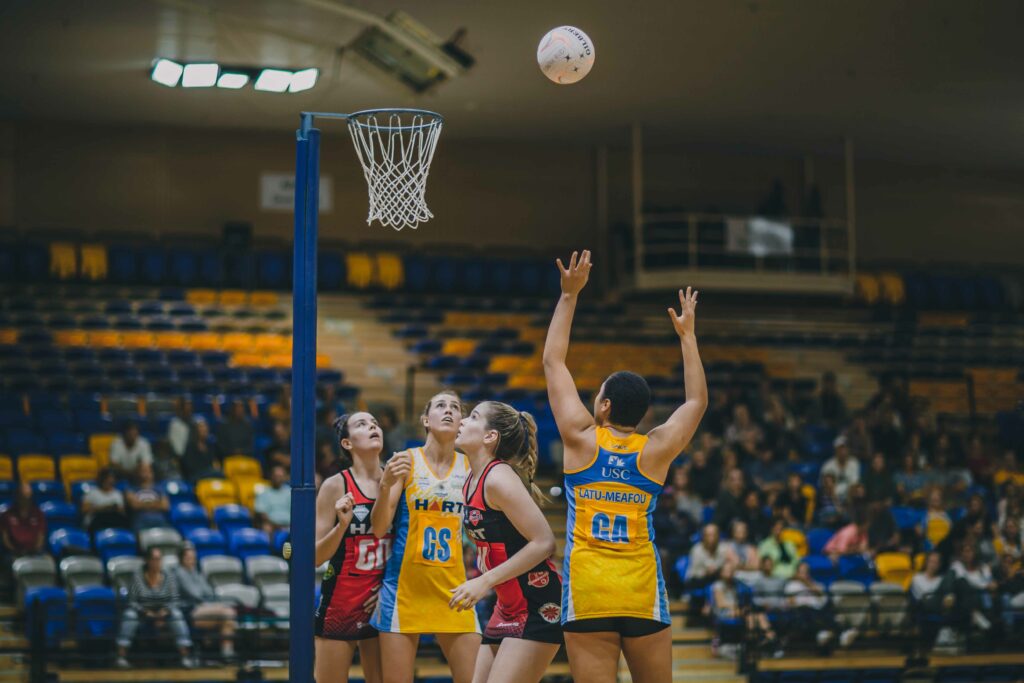
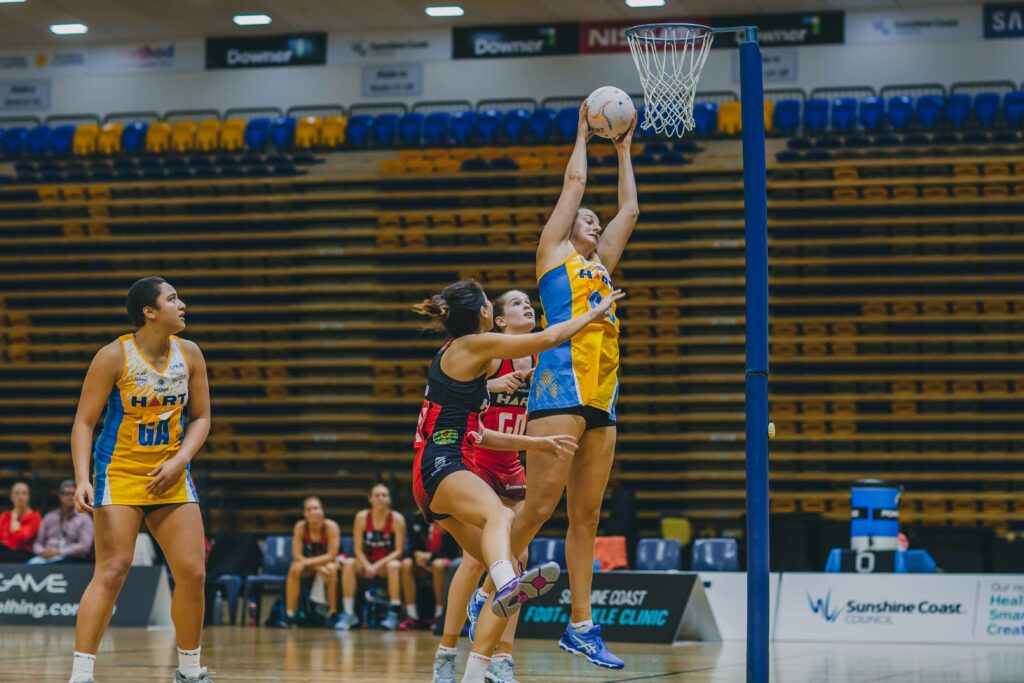
Round 3: Sapphire Team In Pictures
All images captured by Brad Walker / ADFX